Google Drive is a file storage and synchronization service developed by Google. It enables file management, collaboration, and so on. Files in Google Drive can be used as a data source where the imported file is converted into a table.
Add a Google Drive Source node
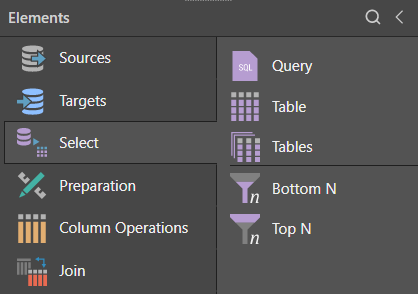
From the Elements section of the Data Flow page:
- Select Cloud Sources.
- Drag the Google Drive node onto the canvas.
When the node is selected on the canvas, the Properties panel opens to the right-hand side.

Note: If the Google Drive node is grayed out in the Cloud Sources menu, it is because your administrator needs to create Google Drive as a data source before you can use it as a node in your data flow. For details, see Google OAuth Setup.
Configure the Google Drive Source
Basic Properties

- The Google Drive Source drop-down list (red highlight above) includes those sources that have been configured in Pyramid by an Admin:
- If your required source is available from the drop-down list, select it.
- If your required source does not appear in the list:
- Try refreshing the list (red arrow).
- If you are an Admin user, click Add Server (green arrow) to configure an additional server.
- Next, select the required Folder (orange highlight).
- Next, define the following basic criteria:
- Select the Multiple file source checkbox to select all files of the given file type in the selected folder. Selecting this option causes the Select File field to be replaced with a Found Files field, listing (and selecting) all files with the selected Type that are present in the folder location.
- File name filter: filter the files that show up in the Select File list, or filter the Found Files list when selecting multiple files.
- Select the Expression checkbox and then open the PQL Editor to create a dynamic PQL expression.
- Select File: select a single file by choosing the required file from the drop-down list.
- Found Files: select multiple files. The list indicates the files to be copied, and can be filtered from the File name filter field.
- Type: select the file type for the files being copied from the data source.
If the folder you want to add isn't available, try refreshing the list (red arrow).
File Properties
Next, you'll need to set the file properties according to the given file and file type. This can be done manually, or by using the Auto Detect function (purple highlight below).
- Click here for more information about file properties.
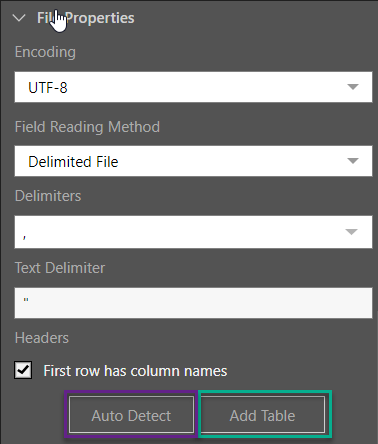
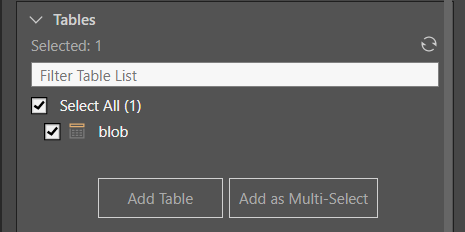
Table Selection
Tables can be added or updated directly from File Properties (green highlight above), or from the Tables section.
Tables can also be added using the Select functions.